Thursday 28 August 2014

Vehicle Progression!


So I've missed quite a few blog posts. Running around doing multiple assessments with multiple blogs makes me lose track of things it seems. However now I can post the process of the vehicle!

First I did a basic model that was just a few simple shapes.


Then I touched up on the geometry and started adding some more detail to the model. Keeping an eye on my poly count the whole time.


This is after part of the UV unwrapping, which once you get the hang of it, it's not so bad.


Then it was time to texture, thankfully Quixel handelled most of the work, I had to make up some ID colour maps though!


Here is the vehicle pre-render with it's material!


And here is the finished product with a nice render!

Tuesday 1 July 2014

Texturing!

So this week I'll be going over the texturing of my treasure chest.

I wanted to try to keep it really simple as I'm spending a lot of time on other assessments at university so I went with a traditional wood lid with metal edging and the base is also metal with fabric lining the inside and the inside of the outer edges as seen below:


The UV's for this model took a while to get together because of the teeth that sit as an overbite of the base of the model. After some tweaking with the sizes I was able to fit the UV's onto a texture map with a 2048x2048 resolution. This is the final result of the colour channel in Photoshop:


Next week we begin animating after I finishing making the AO and Specular for this object!

Tuesday 24 June 2014

UV-Unwrapping!

So over the past week or so I've been working on UV unwrapping my model.
UV unwrapping is crucial in order to texture the model properly which takes a lot of time and patience but once you have an understanding for how it works it becomes pretty simple.

Here is the before and after shot of my UV's on my lid for my treasure chest:


As you can see it's going to be much easier to texture in photoshop now instead of the horrible mess that it was previously. This is only the lid however, I still have to do the bottom box area which should be a lot easier. Then all I'll need to do is apply this to the model via a material, either a Lambert, Blinn or Phong. We will discuss that further in class though.
I'm fairly proud of my work so far. I'm interested to see how the final product will turn out and it's definitely the best 3D model I've made.

Next week I'll be going over the texturing details!

Friday 6 June 2014

Week 1!

First week and already I'm excited.

Each week I'll be updating this blog as per part of my assessments during this trimester. It will contain my journey through learning how to model, texture, rig, animate, render and composite in Maya.

This week we are taking a look at treasure chests as that is the first object we are tasked with creating!
Some of the treasure chests we see in games can be radically different from really small to big enough to fit inside of. Some notable treasure chests are below:

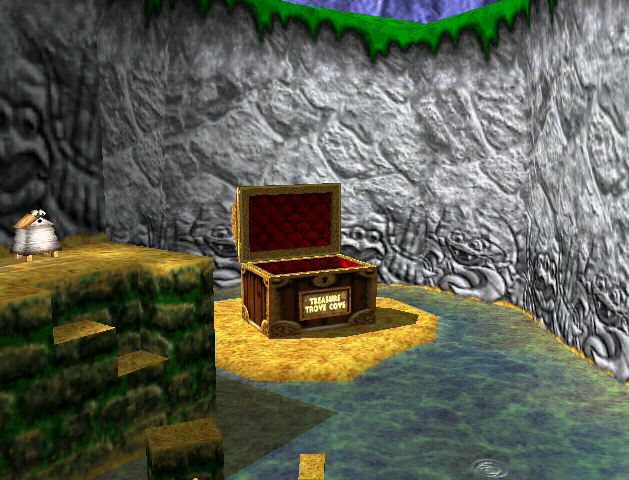
This chest is actually an entrance to a world within the Nintendo 64 title "Banjo-Kazooie".

The idea is that we can create a treasure chest for a possible game, whether it be a board game to hold items or perhaps a video game chest with animations!


Some other examples of chests in gaming:


Legend of Zelda: Skyward Sword


Final Fantasy IV DS


Kingdom Hearts 2
(This image is good because it shows the topology of the chest itself and how it might have been modelled for the video game. The less tris it has the more efficient the game will run. Tris refer to the number of triangles that make up an object. It refers to the faces and what is rendered whilst the game is running)


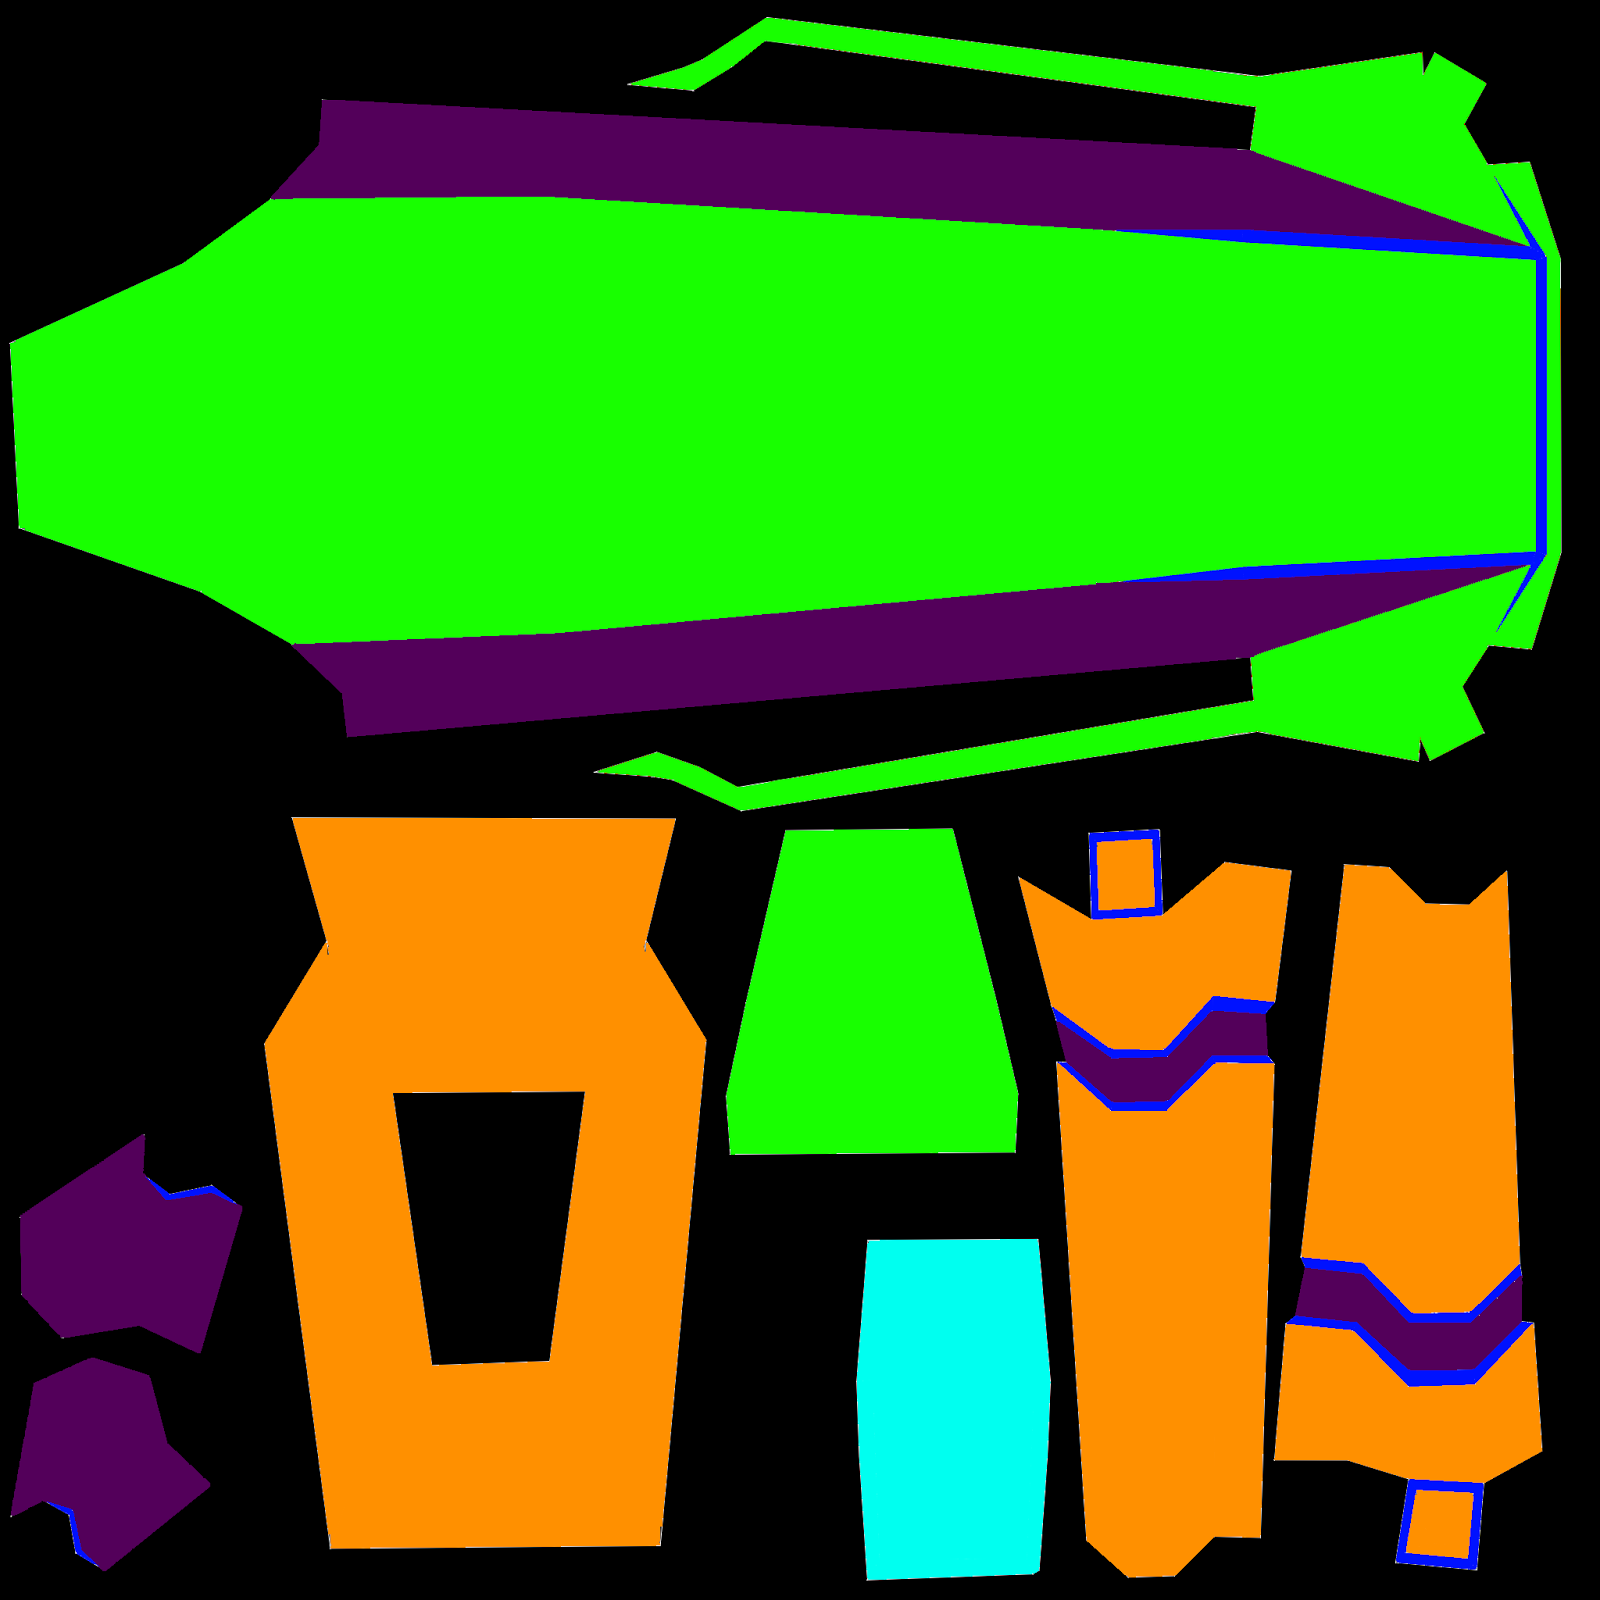
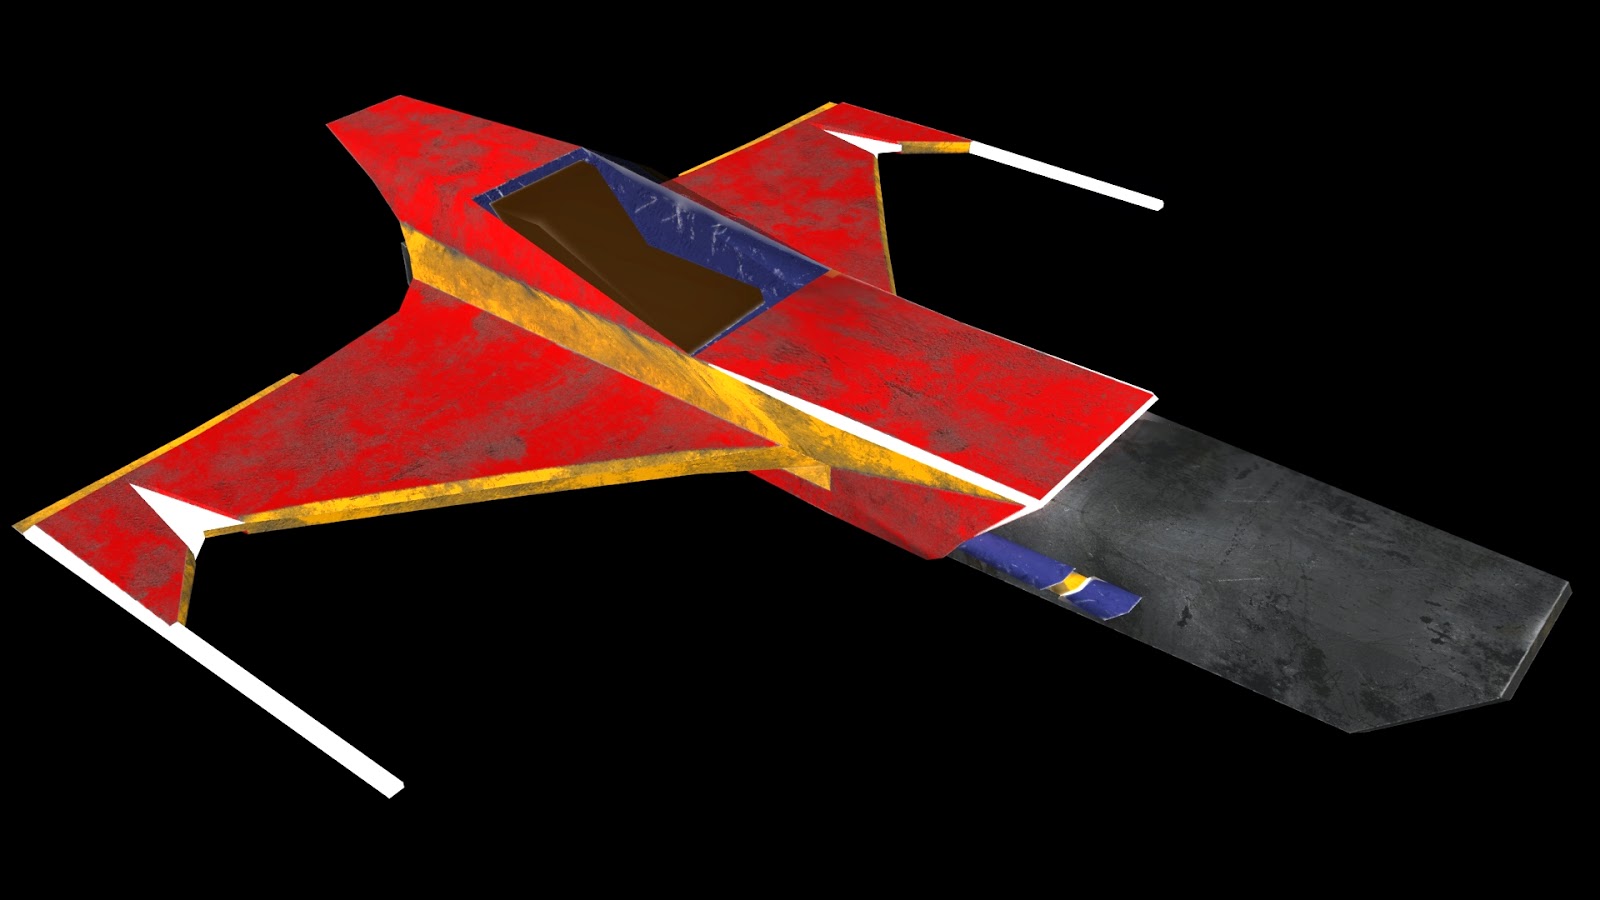
This image is of a 3D model made by Image Propeller Studios and it shows the process behind how the 3D model is textured and kind of topology that is used in creating a 3D model. This is the kind of work I will be focusing on in the coming weeks slowly getting more advanced as time goes on.